BREADBOX PROCESS
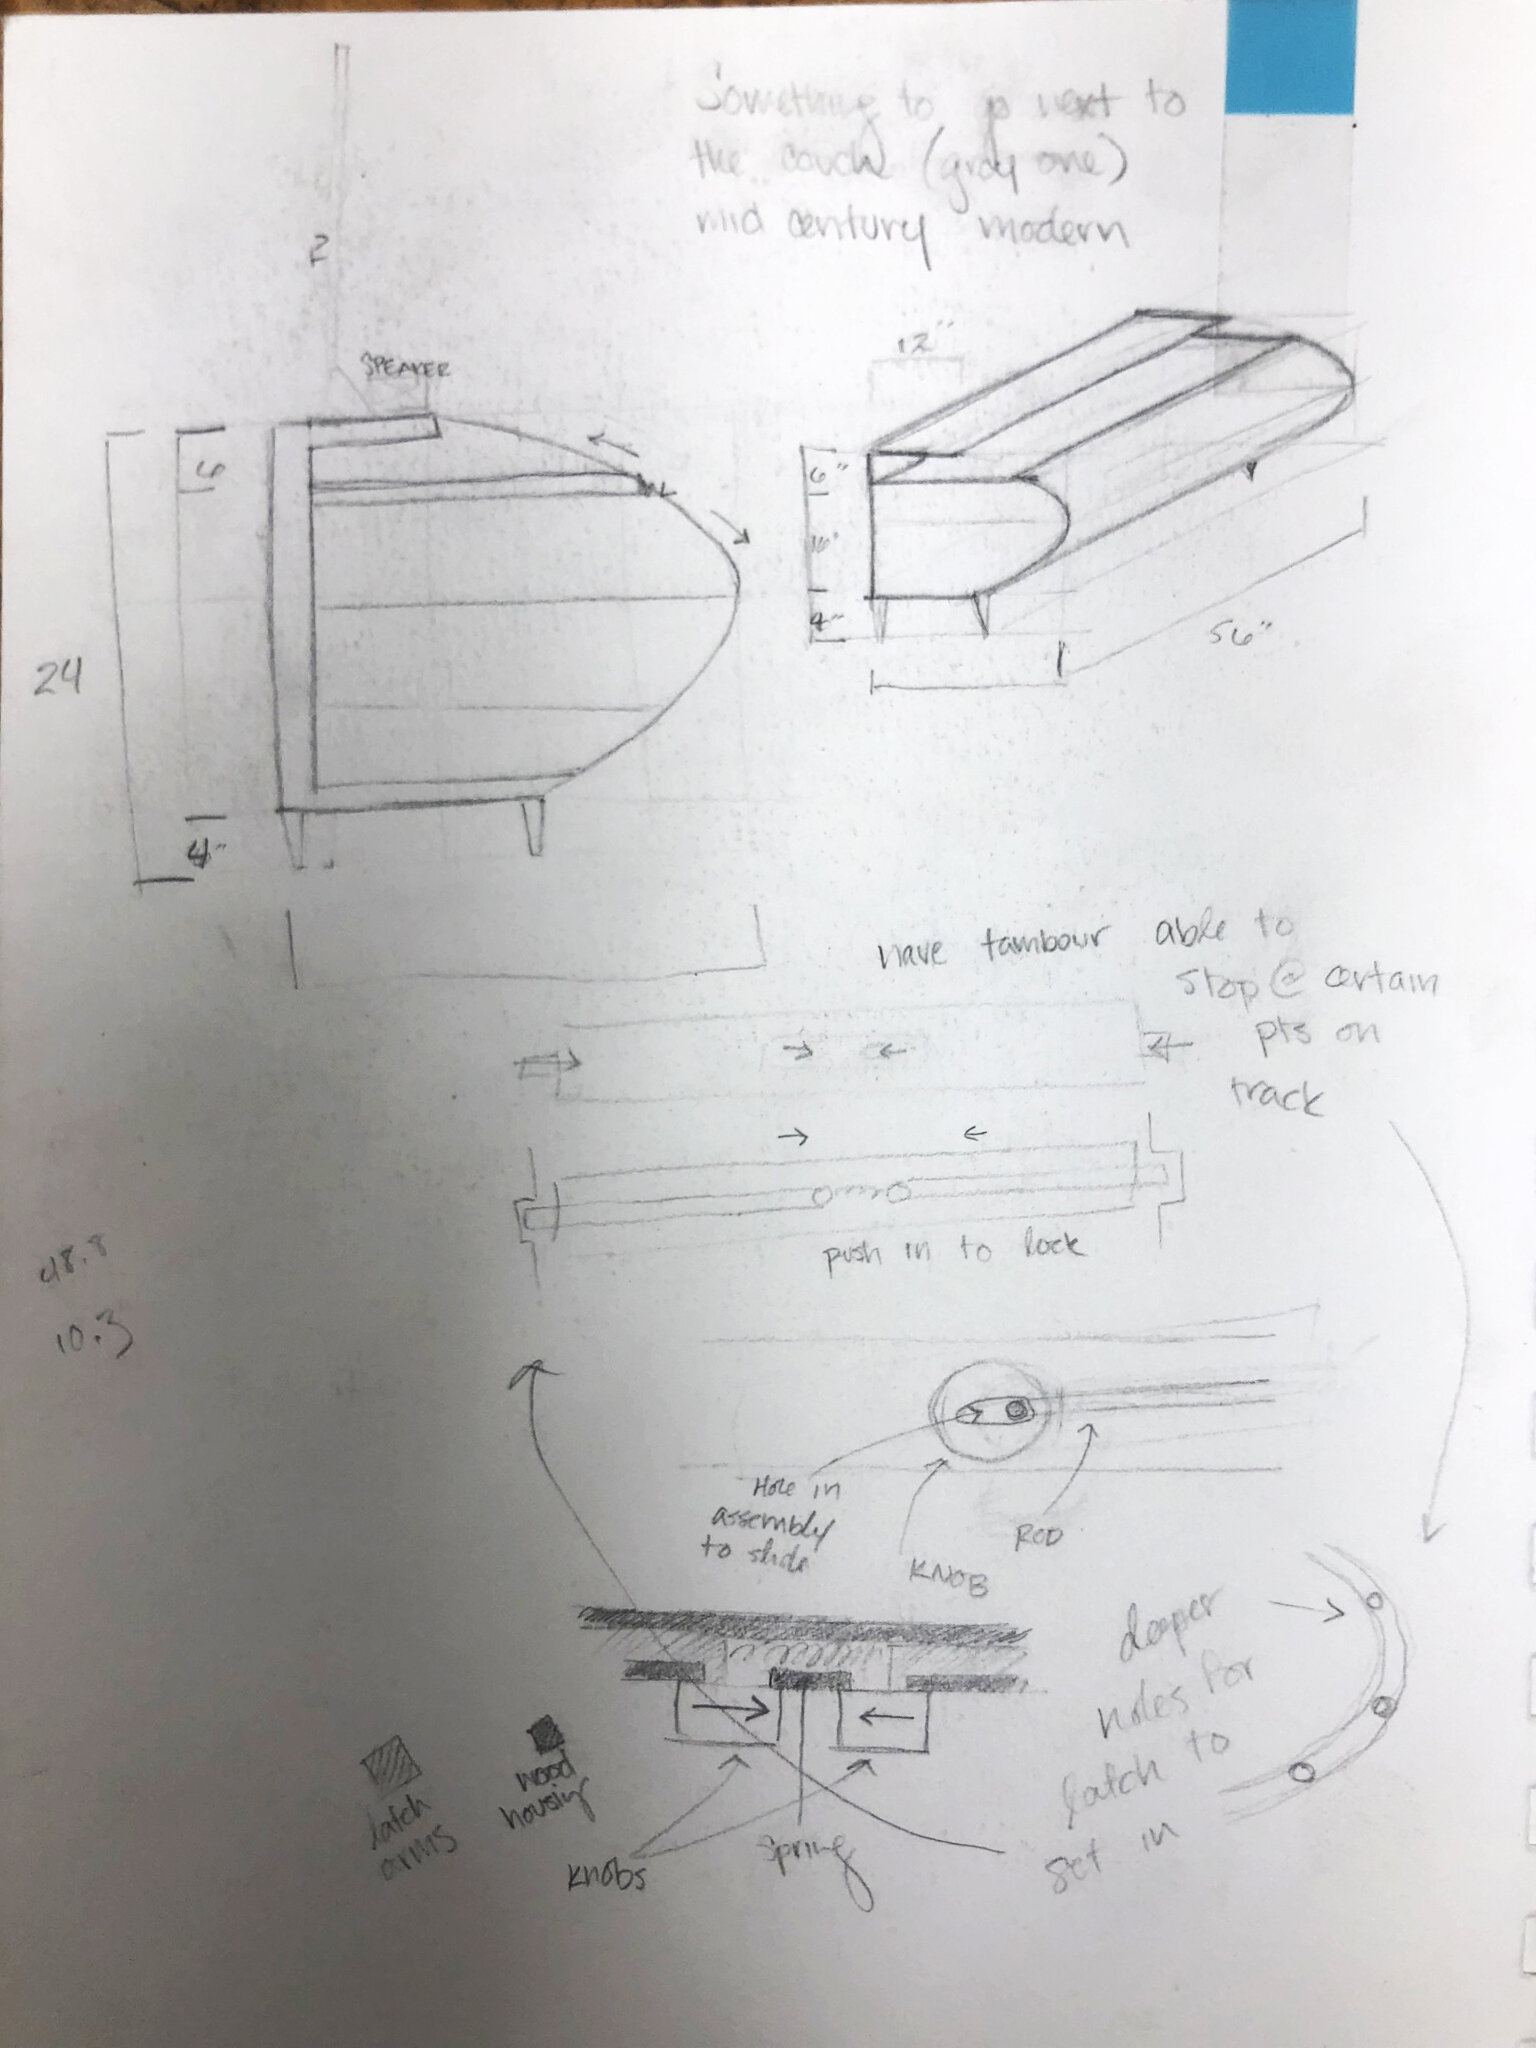
The Breadbox entertainment console was a 7 week project for a design course taken through the University of Texas’ School of Architecture. We had few given parameters; the object must be made of at least 50% wood, it could be no large than 20 cubic feet, and there was to be absolutely no digital fabrication - everything had to be made “by hand”. These rules automatically knocked out a few of my concepts. They were either to large or wouldn’t be feasible in the given time frame. I decided on one idea that I hadn’t thought all the way through but thought would be more than feasible in my 7 week time frame. Digital and physical models were made as I worked out the details. True to form, I still ended up biting off a bit more than I could chew. Further research began shortly, and I soon realized exactly what I had gotten myself into.
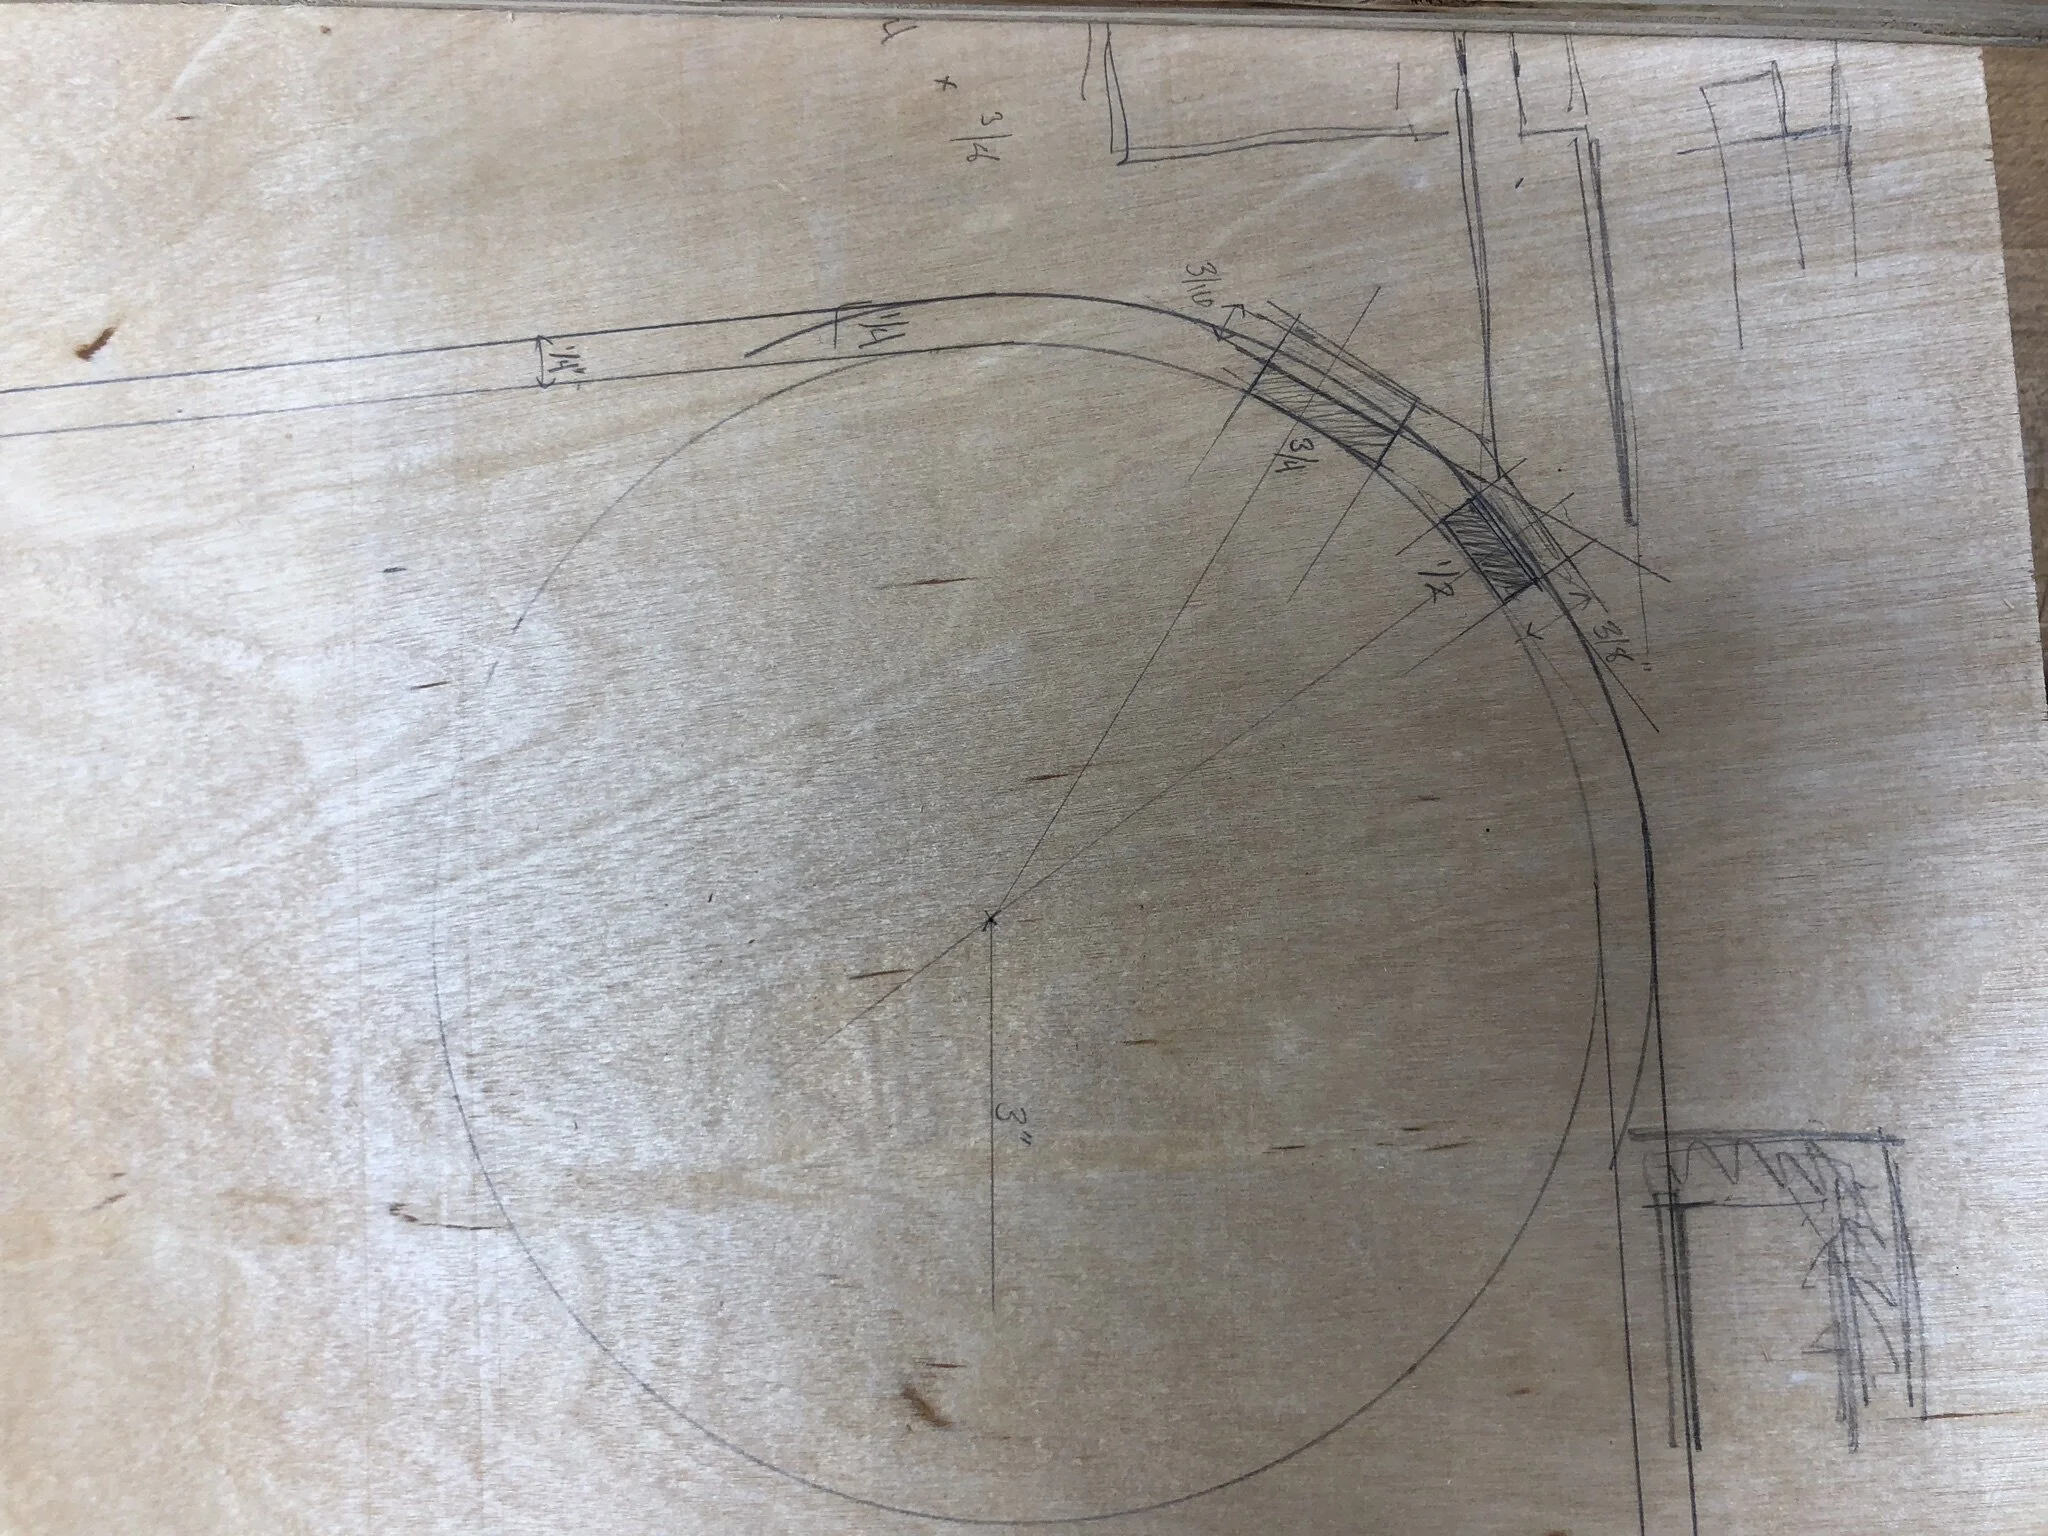
The most complicated portion of the piece was the sliding tambour door. Popular in breadboxes (thus its name sake) and some mid-century furniture pieces, tambour doors utilize a carved track with slates that slide along it. Those slats are typically held together by fabric (usually duck canvas)to create one “door”. A lot of what came next was math and a series of trial and error while trying to figure out how to maximize the wood I had with what was physically possible. The slats had to be a certain dimension, otherwise they would end up falling out, or worse, not moving at all. Referring to Poritz & Studio’s work, was able to figure out how to make everything fit together perfectly, and moved on to the next step.
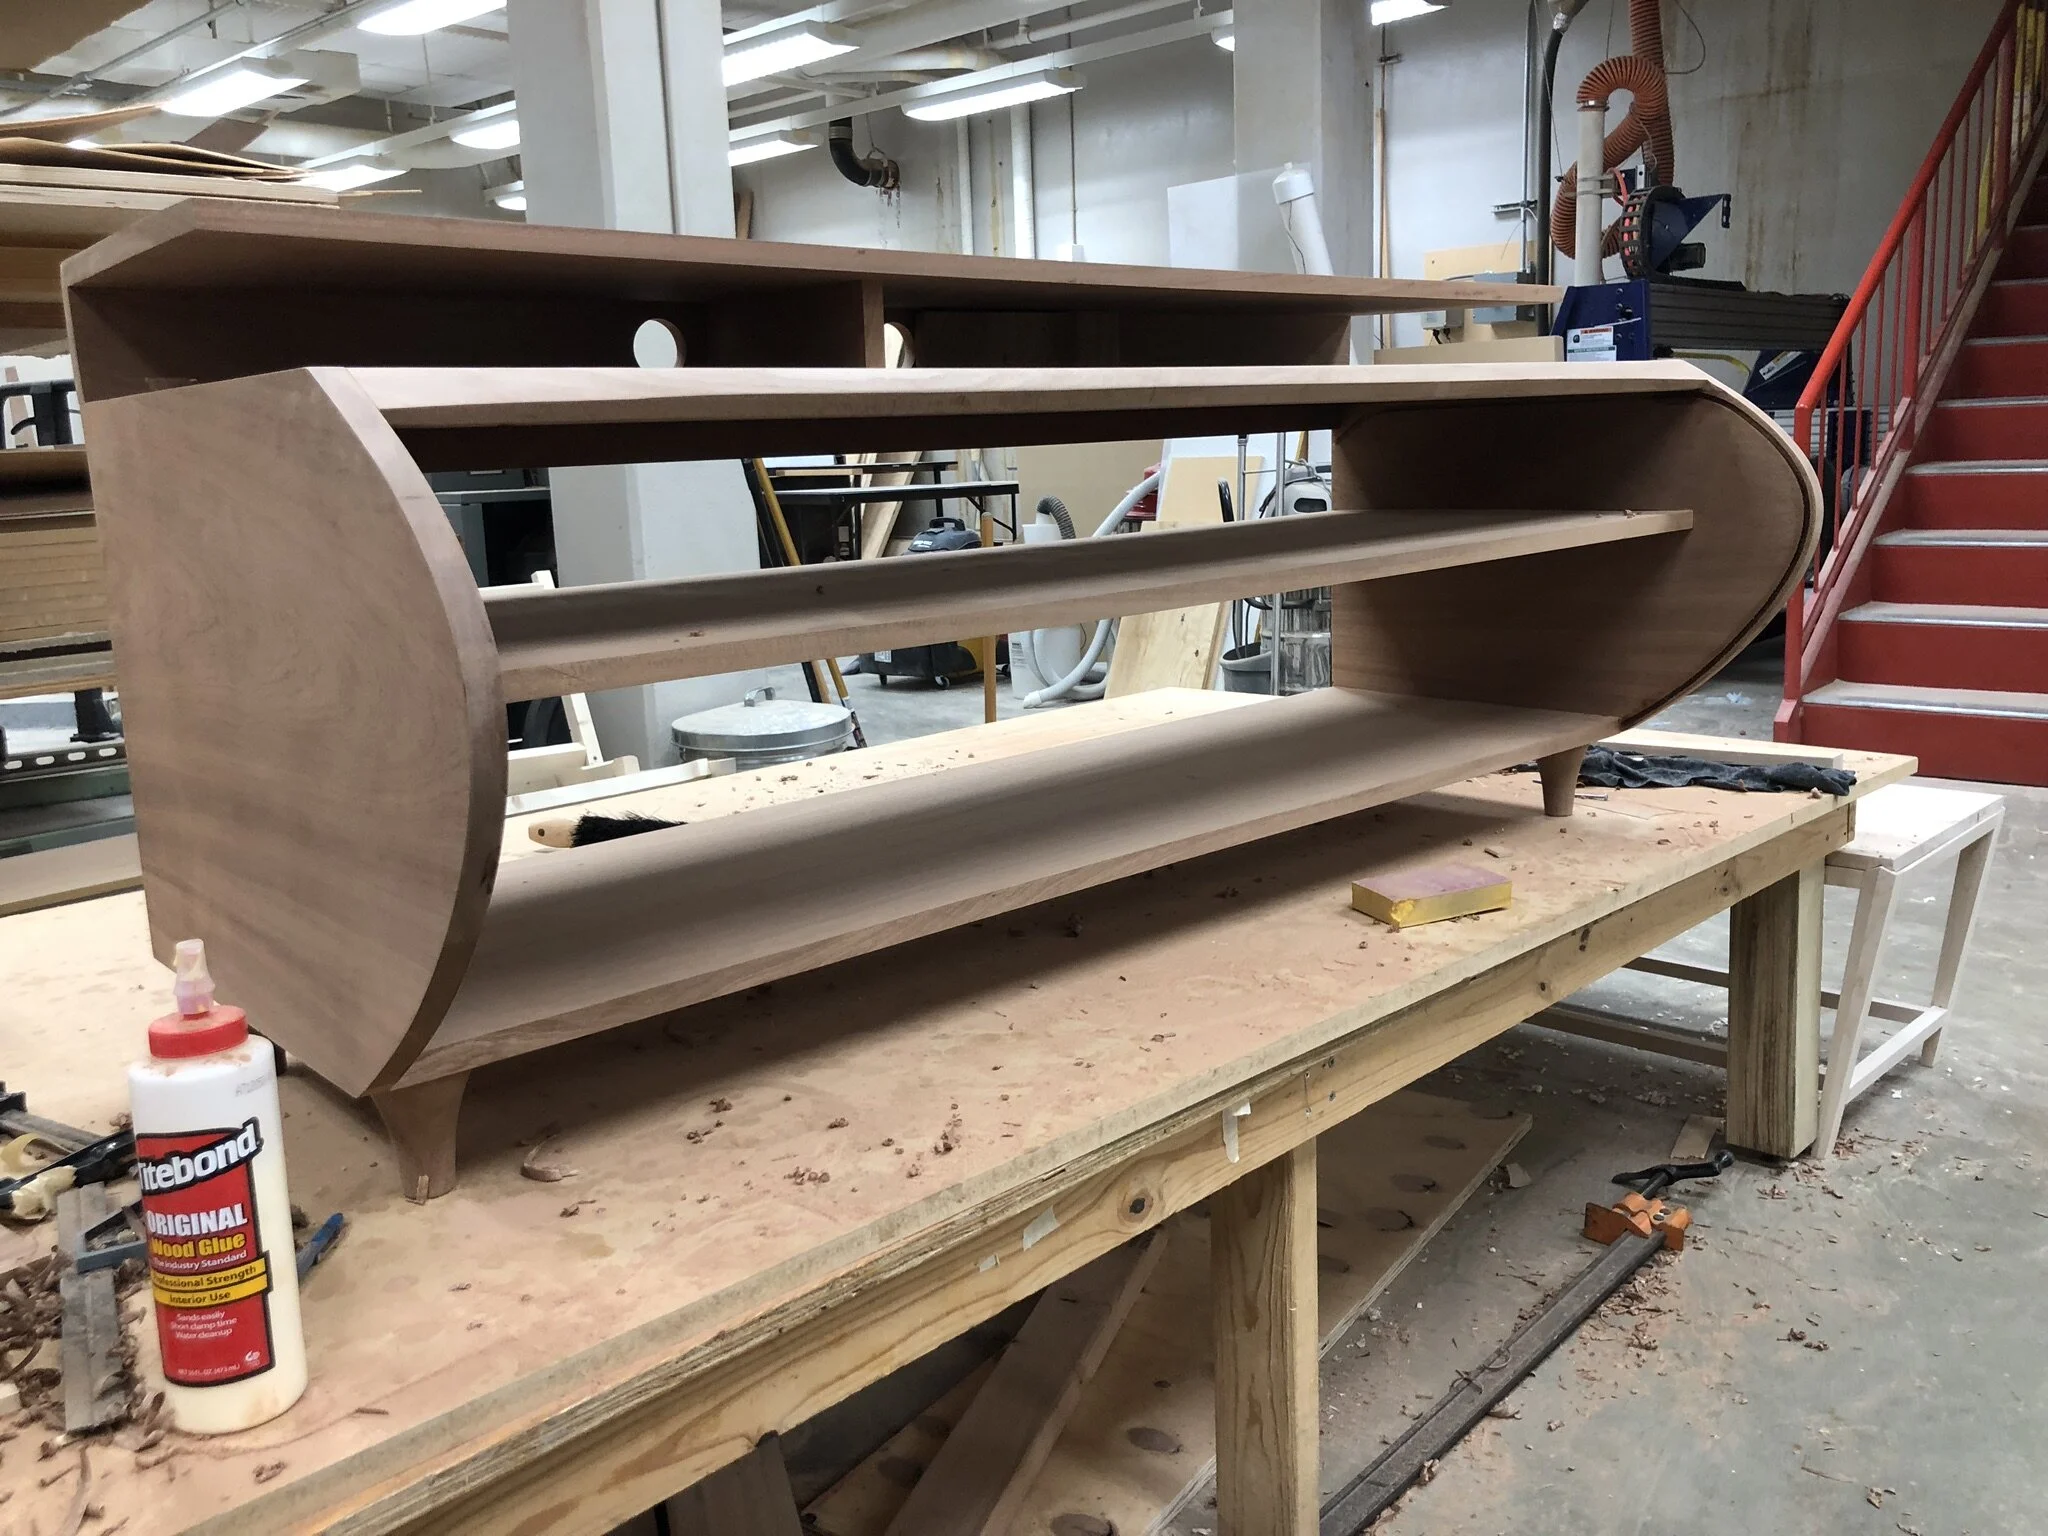
Now I had to actually build the thing. Rough cut lumber was surfaced and glued up to make slabs, and jigs were made from particle board. Once the shelves and casework were done, I routed out the track for the tambour to fit in. A quick dry fit, and I was ready to do my final glue up. While drying I moved on to the door itself. The cloth was hand dyed by me, and a basic jig was assembled. With the slats cut, I installed them face down into the jig and stretched the fabric over them. Once dried, the fabric was trimmed, door installed, and back panel screwed in place. It was then, while admiring my handiwork, that I realized I had forgotten something very, very important.
Legs.
I forgot to finalize the designs and make legs. I’m not quite sure how I managed to get 7 weeks along into my project and not realize I hadn’t made any legs, but there I was, with very little time before my deadline, scrambling to produce legs that fit design-wise with the rest of the project. I sketched and modeled, and finally decided on what I had originally drafted, something very simple that wouldn’t detract from the rest of the piece. I set to work constructing them, and learned to turn on the lathe the night before my deadline. All 4 legs were completed on time, and the project was completed and ready for review.
Review of the Breadbox went well, and I’m immensely proud of it. There are aspects I would do differently, and things I would like to fix when I have the time, such as adding a stop to the tracks. Overall though, its not half bad, and I look forward to building my next piece in the future.


